Setting up a hive is creating an apiary, no matter the current or future size of it. Picking the right location for your apiary is essential: the location determines future harvests, colonies’ cycles and your work as a beekeeper. It is best to avoid windy, shaded, moist and foggy environments. The first step is to assess honey plants within a 2 miles radius. Also, you shouldn’t hesitate to discuss the assets and drawbacks of your location with previously installed beekeepers in the region. Another consideration is the easy access of your apiary (preferably by car). The second step to prep your apiary location is to find something to elevate your hives from the ground, as bees don’t react well to high humidity rates. Lastly, you need to make sure to clean the area of any obstacles for the bees, such as high grass or branches, and to keep it clean all year-around.
Here are the 6 easy steps to follow when setting up an hive:
- Pick a location that is protected from the wind and shades. A South/South-East exposition is ideal.
- Clean up the area, using a spade and a shovel if needed. Be aware of the stability of the ground, as it is essential for the stability of your hive too.
- Elevate your hive, using metal stand or building blocks for instance. Your hive must be stable and not lean towards the sides or the back. A subtle tilt towards the front is beneficial for waste disposal and to regulate to humidity induces by condensation.
- Place an empty hive on the stand, and press each opposite side to make sure it is safely placed and balanced. It it shifts, remove the hive and adjust the placement of your support. Repeat until your hive is perfectly stable.
- If your rooftop is flat, place a rock or any heavy object on it to make sure the wind when remove it.
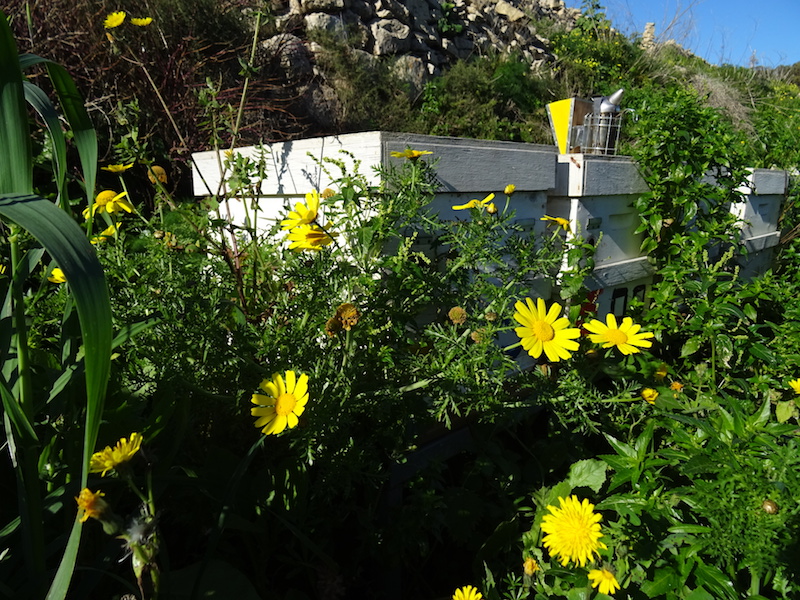
- Clean up the area all around your hive of any high grass, branches or any obstacles that may disturb your bees. Repeat this action regularly along the year.